Tech Tip: Automation Scheduling in PaperFlow™ article
The time- and money-saving features of PaperFlow™ go beyond turning paper documents into usable, searchable digital files. Our experts show how to set up batch processing tasks to enable your customers to further boost productivity.

By Wendy Hamilton, Technical Support Subject Matter Expert
Automated business processes are in heavy demand across many industries. Completing tasks automatically frees up employees to focus on other higher-value work. Automating processes can also be a big time-saver across the board. With PaperFlow™, the automation benefits go beyond turning paper documents into usable, searchable digital files. PaperFlow itself is largely automated, able to process jobs on its own at prescheduled times set by the user.
PaperFlow’s automation scheduling is a breeze to use.
Setting up scheduled batch processing tasks
For batches of documents, the processing time can vary based on the number of automated processing tasks (such as OCR, Image Processing and Export) associated with each job.

The PaperFlow Scheduling Service allows users to continuously create batches while letting PaperFlow process them automatically at a later time. Users are able to produce more batches and spend their time working on other tasks, go to lunch or leave for the day. Without this feature, users may waste time waiting until the processing task ends before creating the next batch.
To schedule batch processing tasks, select the Schedule button under the Auto Process tab when viewing the batch you’d like to process.

An “Add Batch Processing Task” task configuration window will appear. From this task configuration window, you can:
- Name the task as well as add a description (optional).
- Under the Actions section, see all of the optional batch processing tasks currently configured for your batch’s job. Click on the actions you want included. Note: If one of action items is grayed out but you would like to include it, you must first configure it within your PaperFlow job.
- After selecting the actions, use the Time section to schedule the processing. Notice you have the option to make it a recurring task.
The batch will be processed automatically at the specified date/time. Also, the batch will go through the actions selected without the need for user intervention as long as the Scheduling Service is running.
Additional notes
To ensure the scheduling service is running, navigate to the PaperFlow home screen and select the Scheduling Service tab. You will then see the Service Status:
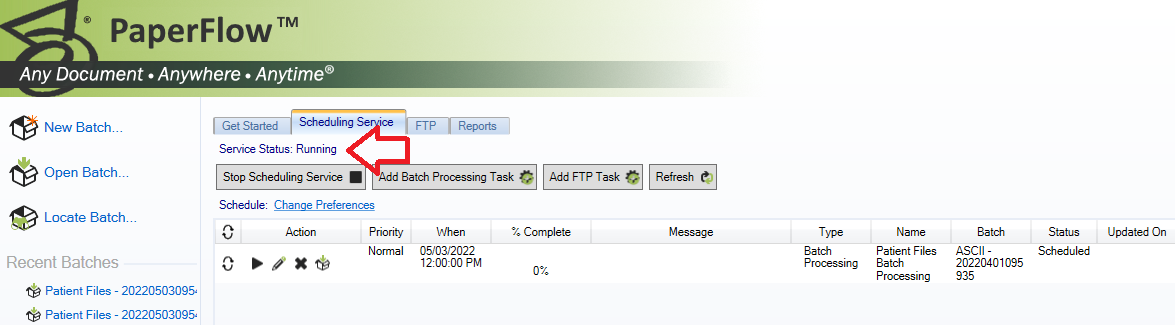
The Scheduling Service tab provides quick access to all of the scheduling service functions such as starting and stopping a service, adding a processing task to the batch, and adding an FTP task to the batch. If the Service Status is stopped, simply click the Start Scheduling Service button. It is important to note that the Scheduling Service cannot run while actively working on a batch; you will be prompted if you need to temporarily stop the Scheduling Service.
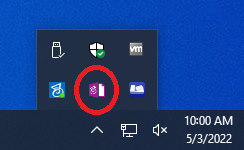
Before exiting the PaperFlow application, double check to make sure the scheduling service is running so batches can be processed at their specified date/time. After you close the application, you will notice a PaperFlow icon in your task tray. This will tell you that PaperFlow is running in the background and your jobs will be processed. You do not need to keep the PaperFlow application open during processing, however, the machine must be turned on and the application must be running in the background.
Using the PaperFlow’s Scheduling Service feature can save your users time and help boost production. Please reach out to your sales representative for more information on this feature.
Digitech Systems Technical Support